Wednesday, June 29, 2016

Composing Creatively

  This image shows implied diagonals which drive the eye to the center and directly to the lighthouse. This is a very powerful way to get the viewer to look into an image. The clouds point to the lighthouse as do the rocks in the foreground...there is no doubt about where you are supposed to look. There is no escape from the dynamism; the use of diagonals aimed toward your subject is one of the strongest ways to lead the eye.


This is a photograph with a diagram of the Rule of Thirds imposed. The rule is often overused but if you are a newbie photographer it can help a lot to achieve a better composition. When I began photographing digitally quite a few years ago, it helped me to superimpose the grid on my live view image, so try it and see if it helps with composition.


The two images below demonstrate the use of time (with a 5 stop ND filter) to improve or change an image.  The top one is taken at f18, 24mm and 15 sec.


This image was taken with the same aperture and focal length, but with the 5 stop ND: the time was 150 seconds.
The feeling is totally different when an ND is used on an image..in the second image the clouds show more movement as they streak across the sky and the ocean is a lot softer.  So it is important to remember that time can change the whole look of an image. Also, any people moving will disappear from the image at 150 seconds.


Who says you can't use bulls eye images, and have to keep things out of the center? If a subject is round, it works well.

and remember that a spiral can really draw the eye into an image:


Curving shapes are also leading lines into an image; look for them everywhere: the curve of a beach or a stream. In this image of Mistaya canyon, the river leads the eye to the mountain in the distance:


Remember that while it is a good idea to keep the horizon out of the center of an image, sometimes with reflections it is best to keep the horizon dead center.


Balance is very important to an image: light and dark must balance and act as counterpoint to each other. Look at Rembrandt's images, he is the master of chiaroscuro...he placed light where it was important, yet maintained dark to balance the image. This image has light behind a seastack from the sun, but the dark, larger shapes on the left help to balance it.

Try to incorporate some of these ideas in your images, or not if you choose...but work to improve composition every day; be creative as a child again.

Monday, June 20, 2016

Learning light

   Light is the life force of all landscape photographers; it can make or break an image.  Learning about light should be your primary goal if you are a landscape photographer. This is an easy primer about light and the difference it can make in an image. Underexposing a stop will often increase the color saturation when shooting at the edges of light. Use graduated neutral density filters, polarizers and solid neutral density filters as needed.
   It is important to remember that when shooting sunrise or sunset there are clues that tell you where you are in the progression of light and time. When shooting at sunrise there a change of hue giving  an indication of the progression of daylight beginning with the predawn colors: blue, lavender, pink, red, orange, yellow...all of these may appear quickly one after the other and when it hits the yellow color, that's when you are about finished with sunrise.
  Sunset is the opposite but after sunset you may be able to continue shooting for quite a while in the twilight hours, even continuing into darkness if you choose to photograph the stars. So here is the progression of sunset: yellow, orange, red, pink, lavender, blue, then black...remember that an hour after sunset there is twilight with beautiful blue skies for photographing cities enabling the buildings to stand out against the sky; whereas with a black sky, the buildings have no edges and disappear.
Also, in the mountains and sometimes along the shore there is a brief moment of alpen glow when the sky suddenly lights up with a pink color after the sun sets.
Here are some examples of the effects of light on an image:

In the upper image, the light is too pale; it was shot a little too early for good color...the lower image was shot shortly afterward when the sun had almost set and color was intense.

Here in the Andes at Mt Fitz Roy: the first image was taken too late after sunrise so it is washed out..the lower one was taken as the sun hit the mountain directly and lit up the red granite.


 The two images below show the effect of photographing in a short time...the sky in the image at bottom was taken right as the sun came up and lasted about 10 seconds..but it gave some color to the sky.  The image below on left was taken a few seconds later when I put the camera in vertical position, however, the light was over.

Wednesday, June 8, 2016

Fun With Fisheyes

Hallgrimskirkja in Iceland

You have heard about fisheye lenses and have often seen them used for many weird images:
people with huge distorted faces, pets with massive noses, bent horizons, bizarre buildings, etc.  Do you want to use one?
Of course!
The fisheye lens can create absolutely amazing images unlike any other lens. The distortion of the fisheye lens compared to a rectilinear lens adds a completely new dimension to photography: creativity. And as photographers we want to be creative, don't we? But as with all good things, there can be bad results, therefore the lens must be used with discretion and only when it adds to an image, not detracts.
I have a Canon 15mm F2.8 fisheye.  It goes everywhere with me;  do I use it a lot?  No.
A fisheye lens is very light and usually small, therefore it is easy to bring along in your bag or in a pocket. You don't need filters, it would be hard to fit one on the bulbous front lens element, so if I am shooting, the bracket ability of my camera takes away the element of surprise when I review images.
By bracketing, I can combine the sky in one image and the foreground in another if necessary...many times it is not...
I have found that there are certain times a fisheye can do wonders for an image. Night sky images can be incredible. My thought process is simple: if it looks like a fisheye will add something to my composition, I try it...at least by trying the lens, it can be ruled out if the composition fails.
There are even telephoto fisheyes... many manufacturers have fisheye lenses: Canon, Nikon, Sigma, Rokinon.
The lens I have was about $600...they are usually under $1000...some can be found used at Amazon for a lot less.
Here are some examples that may get you motivated to rent or purchase a fisheye:

In this image, taken in Canada on a frozen lake, the camera was tilted down...when you aim down
with a fisheye the horizon becomes a semicircle and curves upward like the earth

In this image, the camera was tilted up, thus the horizon lowered to give a dished image.

If you can position the horizon dead center with your fisheye, it will be almost level and show very little distortion.
fisheye in a canyon
Looking up in a canyon at some ice climbers works well with a fisheye...anytime you are in a canyon and looking up, a fisheye can add extra punch to your image because it causes a circular form which the human eye loves.
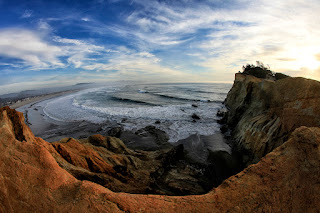
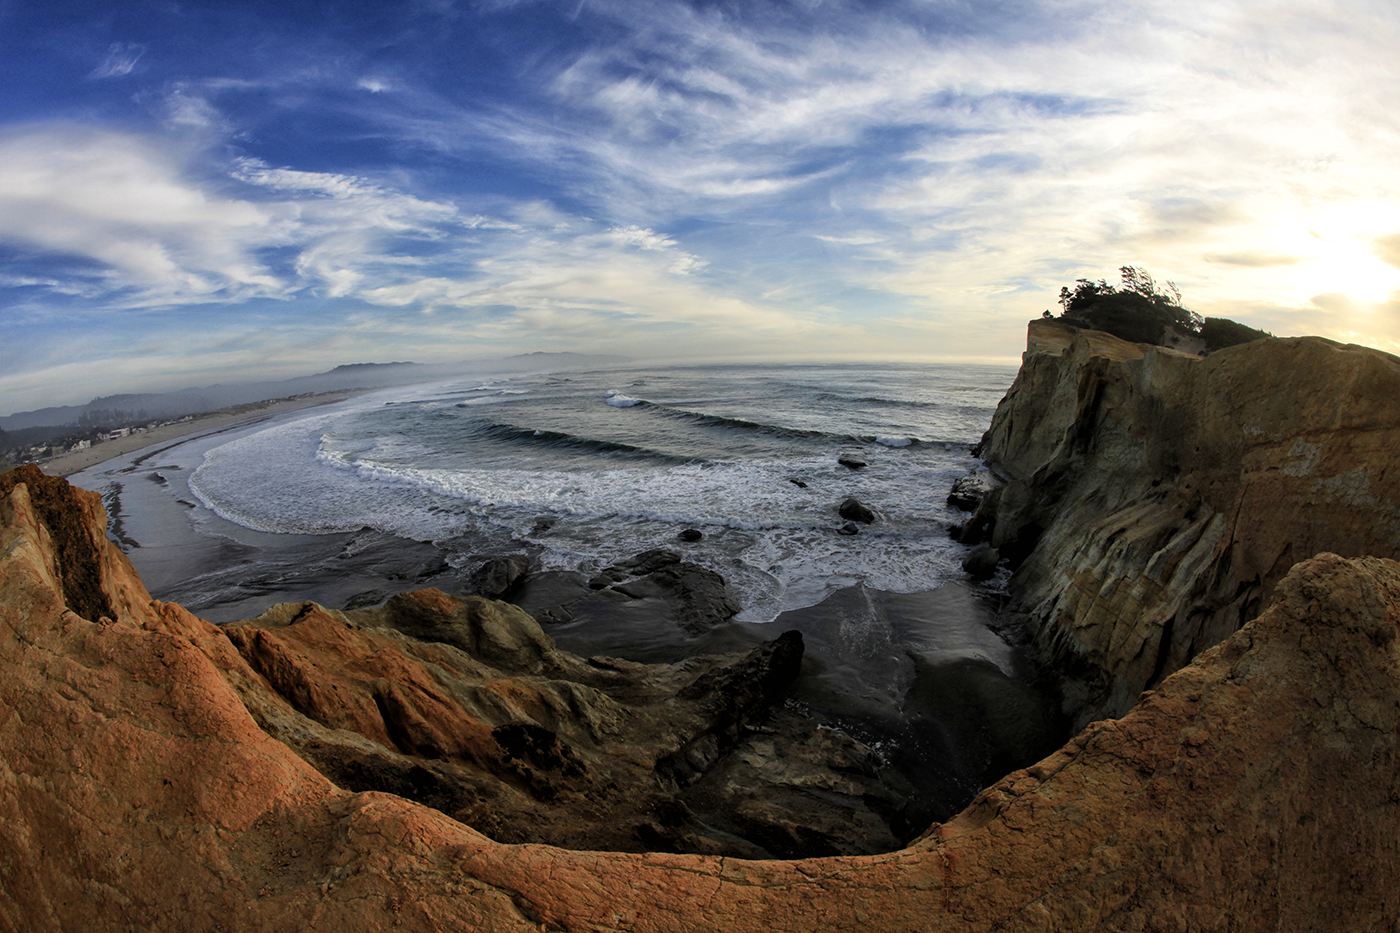
This is Cape Kiwanda in Oregon; on this side of the cape there is a long peninsula reaching into the ocean. I thought a fisheye would capture the whole scene in a dramatic way...it seems to work


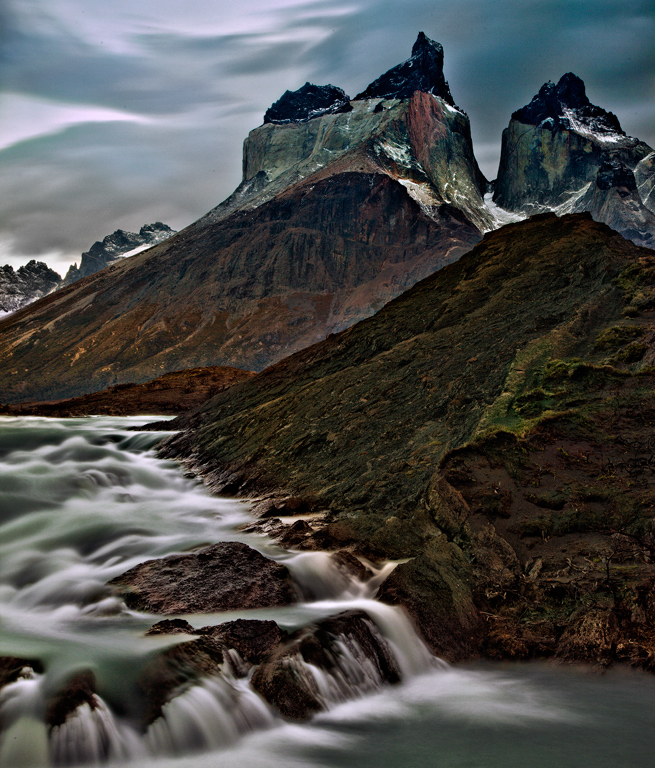
There are times at night when a fisheye can add a large amount of sky plus do good things to shapes in the foreground...the rocks in the next image are immense, but the fisheye compresses them in a unique way.


and as a final image, the fisheye can do some bizarre things to the interiors of abandoned buildings...this is an abandoned boarding house:
A few more thoughts on a fisheye:  remember that you can get incredibly close to a subject, sometimes just inches depending upon the lens...mine will focus down to a foot away...also, remember that the field of view is an incredible 180 degrees, something that no rectilinear lens can give you. The widest rectilinear lens is the Canon 11-24mm which has a field of view of 126 degrees.
Try it, you'll like it!